

Understanding How Central Heating and Air Conditioning Work
Installing a central heating and air conditioning system is one of the best ways to keep your home comfortable year-round while improving energy efficiency and property value. However, understanding the process, tools, costs, and energy-saving techniques is essential before starting. Whether you’re planning a DIY project or hiring a professional, knowing how to install central heating and air conditioning correctly ensures long-term comfort, lower utility bills, and a reliable HVAC system that runs smoothly year-round. Elsewhere on the site: SEO Consultants.
Before installing a central heating and air conditioning system, it’s essential to understand how it functions. Central heating provides warmth through a furnace or boiler that distributes heat via ducts or radiators, while central air conditioning cools air using a compressor, condenser, and evaporator coil. Both systems share ductwork, enabling efficient temperature control throughout your home.
A well-installed system ensures year-round comfort, consistent air quality, and energy savings, but only if it’s designed and installed correctly.
Key Information About Central Heating and Air Conditioning Installation
| Aspect | Details |
|---|---|
| System Type | Central Heating and Air Conditioning (HVAC) |
| Main Components | Furnace, Condenser, Evaporator Coil, Thermostat, Ductwork |
| Average Cost Range | $7,000 – $15,000 (Full Installation) |
| Heating Unit Cost | $3,500 – $7,500 |
| Air Conditioning Unit Cost | $4,000 – $8,000 |
| Ductwork Installation Cost | $2,000 – $5,000 |
| Installation Time | 1–3 Days |
| Recommended System Size | Based on Manual J Load Calculation |
| Energy Efficiency Rating | SEER 15–20 for AC / AFUE 90–98% for Furnace |
| Ideal Thermostat Type | Smart or Programmable Thermostat |
| Maintenance Frequency | Once or Twice Per Year |
| Filter Replacement | Every 1–3 Months |
| Average System Lifespan | 15–20 Years |
| Duct Cleaning Schedule | Every 3–5 Years |
| Common Installation Errors | Poor Sizing, Air Leaks, Incorrect Wiring |
| Key Energy-Saving Tips | Seal Ducts, Insulate, Use Smart Controls |
| Noise Level | 50–70 dB (Varies by Model) |
| System Warranty | 5–10 Years (Manufacturer Dependent) |
| DIY Friendly? | Partial (Professional Help Recommended) |
| Required Tools | Drill, Wrenches, Gauges, Pipe Cutter, Safety Gear |
| Best Season for Installation | Spring or Fall |
| Ideal Home Size | Medium to Large Residential Properties |
| Environmental Impact | Reduced with Energy Star-Certified Systems |
| Financing Options | Available via HVAC Companies and Energy Programs |
| Value Addition | Increases Home Comfort and Resale Value |
Essential Tools and Materials for Installation
Installing central heating and air conditioning requires precision and the right tools. Whether you’re doing it yourself or preparing for a professional installation, here are the essential tools and materials you’ll need:
- Drill and hole saws: For creating access points and securing ducts.
- Pipe cutter and wrenches: To fit copper or PVC piping correctly.
- Refrigerant gauges: For testing and charging the AC system.
- Ductwork and insulation: To ensure proper air distribution and prevent heat loss.
- Electrical wiring kit: For connecting thermostats, sensors, and power sources.
- Safety gear: Including gloves, goggles, and a respirator mask.
Having these tools ready will streamline your installation process and minimize costly delays.
Planning the Installation: Key Considerations
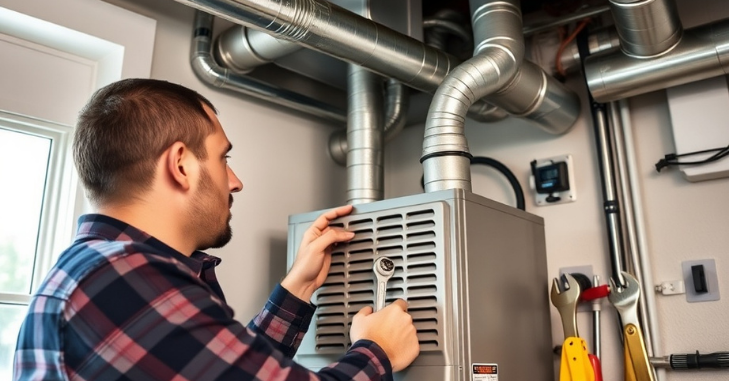
Proper planning is key to a successful HVAC installation. Assess your home’s size, insulation, and layout to ensure the system fits your needs. A professional Manual J load calculation helps determine the proper heating and cooling capacity. Choose between a split system (indoor and outdoor units) or a packaged system (combined unit) based on your space, budget, and energy goals.
Step-by-Step Guide to Installing Central Heating and Air Conditioning
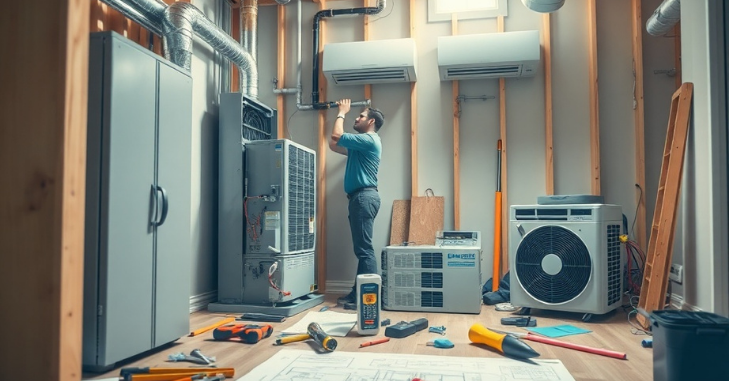
1. Prepare the Installation Area
Clear debris and ensure the installation site for the furnace or air handler is clean, level, and well-ventilated. The outdoor condenser unit should be placed on a flat concrete pad away from direct sunlight or obstructions.
2. Install the Furnace or Air Handler
Position the furnace (for gas heating) or air handler (for electric systems) in your chosen location. Connect the return and supply air ducts securely using duct tape or metal fasteners. Make sure all joints are airtight to prevent leaks.
3. Connect the Refrigerant Lines
Run the refrigerant lines between the indoor evaporator coil and the outdoor condenser unit. Insulate these lines to maintain energy efficiency and prevent condensation.
4. Set Up the Ductwork
Install the main ducts that will distribute conditioned air throughout your home. Ensure each vent is correctly sealed and sized for optimal airflow.
5. Electrical and Thermostat Connections
Connect all electrical wiring according to your HVAC system’s specifications. Install the thermostat in a central location away from heat sources or direct sunlight. Smart thermostats can be an excellent addition for improved energy control.
6. Test and Charge the System
Once all components are in place, test the system for leaks and proper operation. Use refrigerant gauges to verify the pressure levels and charge the system as recommended by the manufacturer.
Average Installation Costs
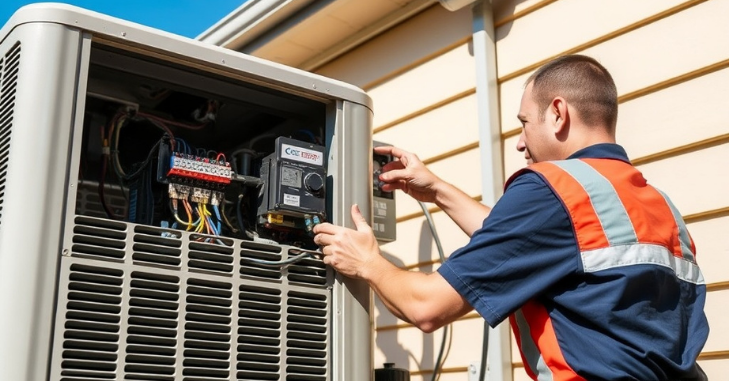
The cost of installing central heating and air conditioning depends on multiple factors, including your home size, the system’s brand, and whether it’s a new installation or a replacement.
| Installation Type | Average Cost (USD) |
| Central Heating (Furnace or Boiler) | $3,500 – $7,500 |
| Central Air Conditioning System | $4,000 – $8,000 |
| Complete HVAC Installation (Heating + Cooling) | $7,000 – $15,000 |
| Ductwork Installation or Replacement | $2,000 – $5,000 |
| Smart Thermostat Setup | $150 – $400 |
While DIY installation may save money upfront, hiring a professional ensures compliance with local codes, warranty protection, and long-term performance.
Energy Efficiency Tips for Maximum Performance
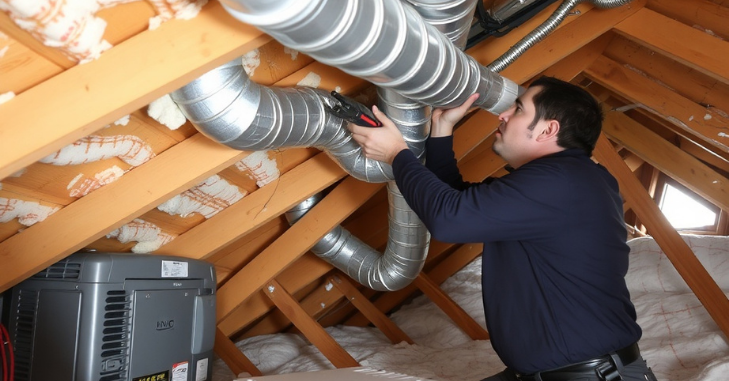
Boosting energy efficiency lowers utility bills and extends your HVAC system’s life. Seal and insulate ducts, upgrade to a smart thermostat, and replace air filters every few months. Schedule yearly maintenance and ensure your home is well-insulated to maintain comfort and reduce energy use.
Common Installation Mistakes to Avoid
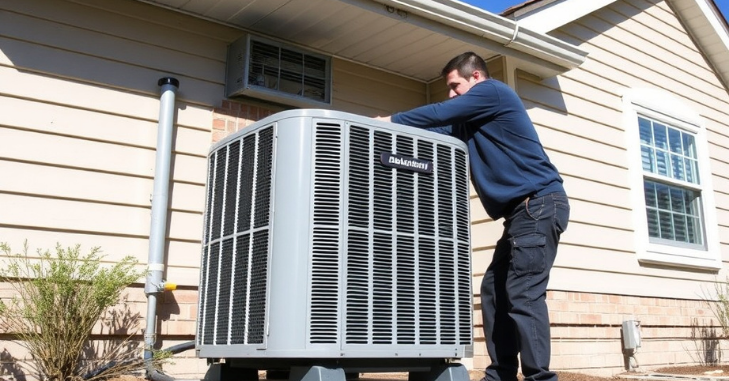
Even minor installation errors can affect your system’s performance and lifespan. Here are common mistakes to steer clear of:
- Incorrect system sizing: Oversized or undersized systems waste energy and struggle to maintain comfort.
- Improper ductwork design: Poor airflow causes uneven heating or Cooling.
- Skipping insulation: Uninsulated ducts lead to energy loss.
- Ignoring manufacturer instructions: Always follow the manual for wiring, refrigerant charging, and testing.
- Lack of regular maintenance: Neglecting tune-ups can shorten system life and reduce efficiency.
Avoiding these errors ensures your HVAC system operates efficiently from day one.
Expert Installation Tips for Long-Term Success
Professional HVAC installers emphasize the importance of precision, airflow balance, and component quality. Follow these expert recommendations:
- Use high-quality components: Cheaper parts may save initially, but often fail sooner.
- Install zoning systems: They allow different areas of your home to be heated or cooled independently.
- Ensure proper ventilation: Adequate air return paths improve overall efficiency.
- Check refrigerant charge accuracy: Incorrect levels can damage compressors and reduce cooling power.
- Perform a post-installation inspection: Test airflow, thermostat function, and system performance before finalizing.
By following these expert tips, you’ll enjoy reliable comfort, better indoor air quality, and lower operating costs for years.
Maintenance Schedule for Optimal Performance
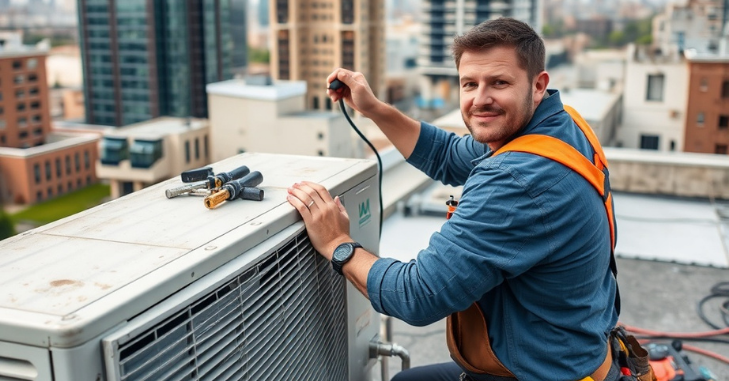
After installation, regular maintenance keeps your HVAC system efficient and reliable. Here’s a quick maintenance timeline to follow:
| Frequency | Maintenance Task |
| Monthly | Check and replace air filters |
| Every 6 Months | Clean ducts and vents |
| Annually | Schedule a professional inspection and tune-up |
| As Needed | Lubricate moving parts and inspect wiring |
Routine maintenance prevents system breakdowns and ensures your home remains comfortable year-round.
Conclusion
Installing a central heating and air conditioning system requires careful planning, the right tools, and attention to energy efficiency. From proper load calculations and ductwork installation to regular maintenance, each step plays a vital role in your system’s performance and longevity. By following expert installation tips and investing in quality components, homeowners can create a comfortable, cost-effective, and energy-efficient living environment that enhances both home value and everyday comfort.
Want to know about Wireless Door Camera: A Comprehensive Guide to Choosing the Best Option Check out our Home Improvement category.
Frequently Asked Questions (FAQs)
While DIY installation is possible for experienced homeowners, it’s generally recommended to hire a certified HVAC technician. Professionals ensure proper sizing, wiring, and refrigerant handling, which are crucial for safety, performance, and warranty validity.
A standard installation usually takes 1 to 3 days. The duration depends on factors such as home size, ductwork complexity, and whether it’s a new installation or a system replacement.
System size is based on your home’s square footage, insulation, and local climate. A professional performs a Manual J load calculation to determine the correct capacity and prevent energy waste or uneven heating and Cooling.